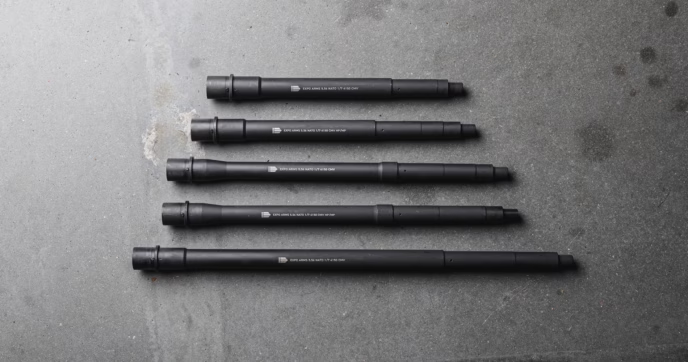
If you’ve been a follower of the Primary Source for a while, you’ll know that we’re big fans of the AR-15 and are no strangers to highlighting everything from its build process to specialized components designed for equally specialized purposes. Being a rifle that can be easily tailored to fit any role, ensuring that your build remains in usable condition across all environments and scenarios is just as important as making sure it’s equipped with all the right gear for the job.
While we cover the build process extensively in our article, “How To Assemble an AR-15 Lower”, there’s more you can do to future-proof your rifle to ensure it’s ready for whatever conditions you might face. Specifically looking at the buffer assembly, many enthusiasts opt to stake the castle nut in place to keep it from coming loose over time. However, there’s a lot of debate as to whether doing so is an absolute necessity for long-term use, or nothing more than a preventative measure for a problem that doesn’t exist.
Why Your Castle Nut Matters
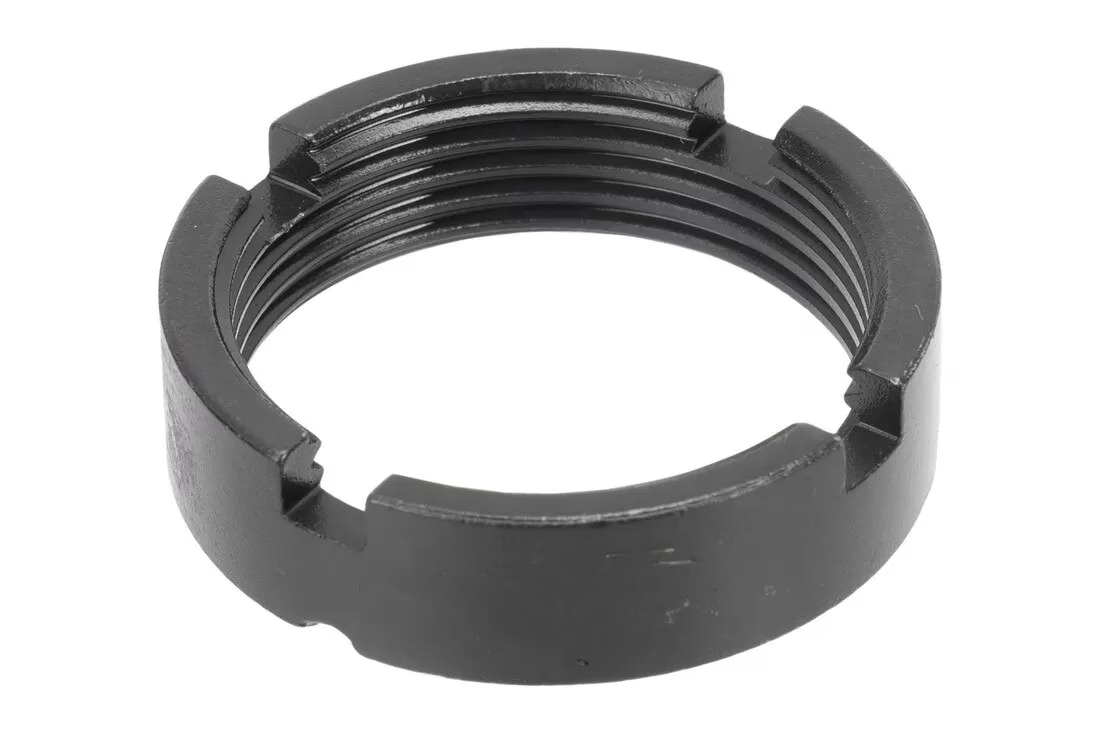
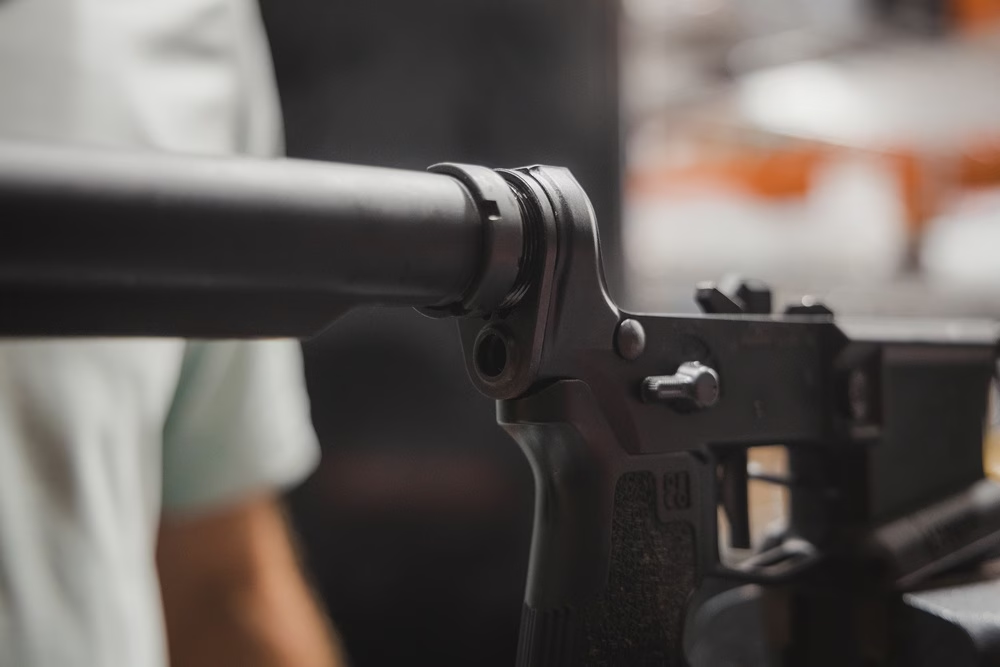
Before getting into our thoughts and opinions on castle nut staking, it’s crucial to know what components we’re dealing with. The castle nut and endplate are key AR-15 lower parts designed to align and secure the buffer tube to the lower receiver, as well as keep other parts like the takedown pin spring and detent in place.
When assembling your lower, the castle nut and endplate are threaded onto the buffer tube before it’s affixed to the lower receiver. Once in place, the buffer tube can be threaded into your AR-15 lower receiver, and once it clicks into place, being secured by the buffer detent, you can slide your endplate into position and lock the buffer tube in place by tightening the castle nut with an armorer’s wrench. Once it’s tightened into place, you then have the choice to stake your castle nut.
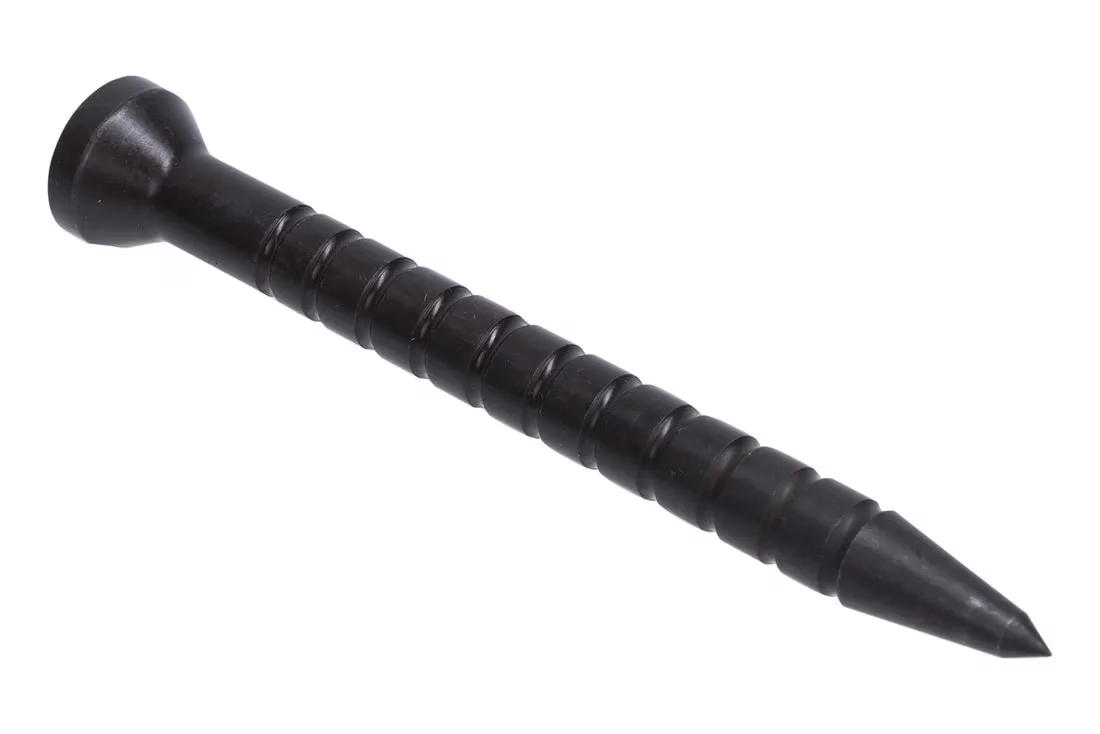
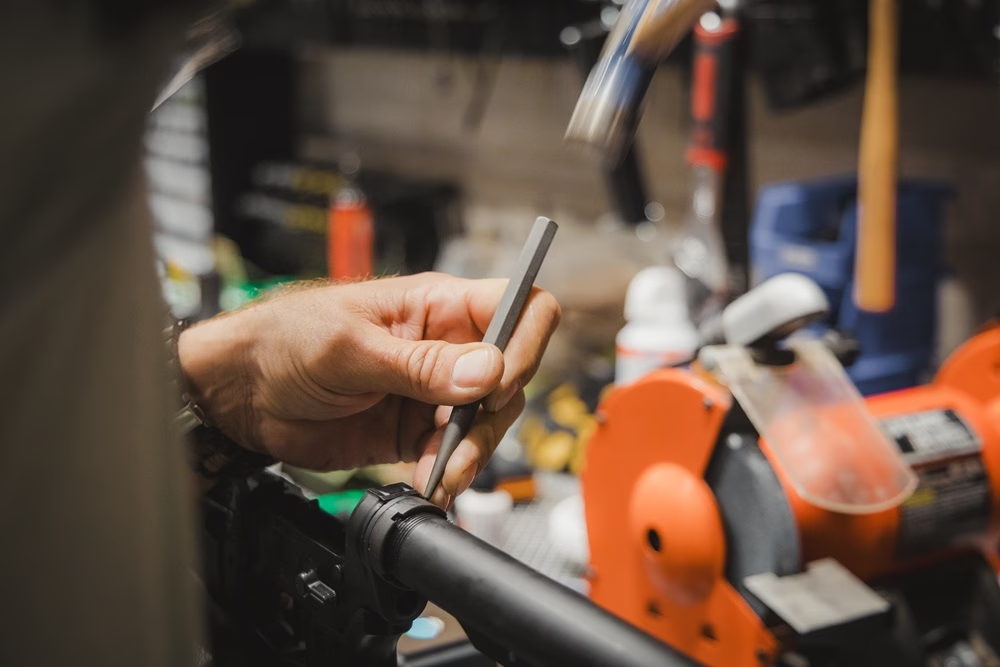
If you aren’t familiar with the process, staking your AR-15 castle nut refers to using a punch to push or ‘stake’ the endplate into pre-cut notches on the castle nut to effectively lock it in place. Many enthusiasts and professionals alike do this as a preventative measure to make sure their rifles stay in working order when used in adverse conditions, but as we mentioned earlier, whether doing so is necessary is often up for debate.
The Great Debate: Should You Stake Your Castle Nut?
So, that begs the question, should you stake your castle nut? In all honesty, it’s up to you. If you torque down your castle nut properly—to 40 to 45 ft-lbs—it isn’t likely that it’s going to back off the buffer tube. Although it isn’t likely, it’s still possible for your castle nut to loosen after firing your rifle due to shock and vibrations from recoil, which are notorious for loosening threaded components. To minimize this risk, many choose to stake their castle nut once it’s torqued down for added security.
It’s worth noting that AR-15s are exceptionally durable when built properly, but having a staked castle nut provides you with a bit more assurance that nothing is going to come loose. While you can opt for specialized locking castle nuts—something we’ll focus more on below—if you’re using a mil-spec AR-15 lower parts kit, you can basically view staking your castle nut as a free upgrade of sorts.
Staking Your Castle Nut
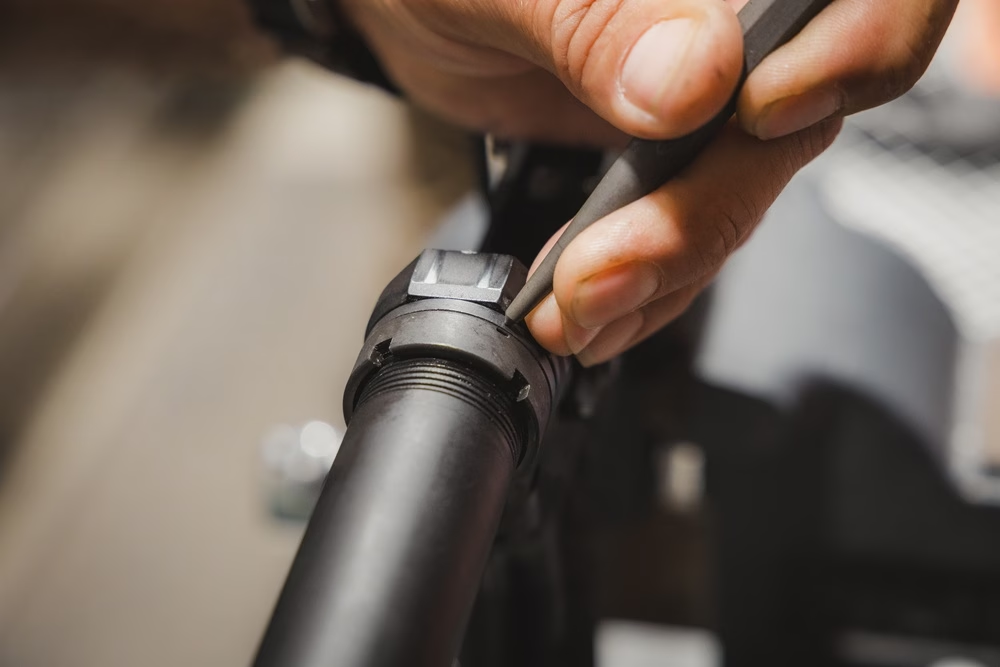
If you’ve decided that you’re going to stake your rifle’s castle nut, you’ll need to know how to do it properly. On the side of the AR-15’s castle nut that sits against the endplate, there are around 4 small notches that serve as staking points. To stake your castle nut in place, you’ll need to have a bench vise, a lower vise block, a hammer, and a castle nut staking punch.
Before doing anything, you’ll need to build your lower receiver so that it’s complete. Aside from keeping your buffer tube aligned, your endplate is also what keeps your rear takedown pin spring and detent in place—so if you were to install your buffer tube and endplate and stake them before finishing your lower, you wouldn’t be able to install your takedown pin, requiring you to remove it, buy a new end plate, and start over.
Start by locking your lower vise block into your bench vice. Once secured in place, place your complete lower onto the vice, and with your hammer and punch, lightly strike the endplate next to one of the castle nut’s stake notches to establish a striking point. Keeping your punch straight, continue to strike that point with your hammer and staking punch to displace the metal of the endplate so that it fills in the notch. Ideally, you want to ensure that enough material has been moved to prevent your castle nut from loosening. It should fill in most of the notch, and once you’re satisfied with the amount of material staked in place, repeat the process on one of the castle nut’s other notches.
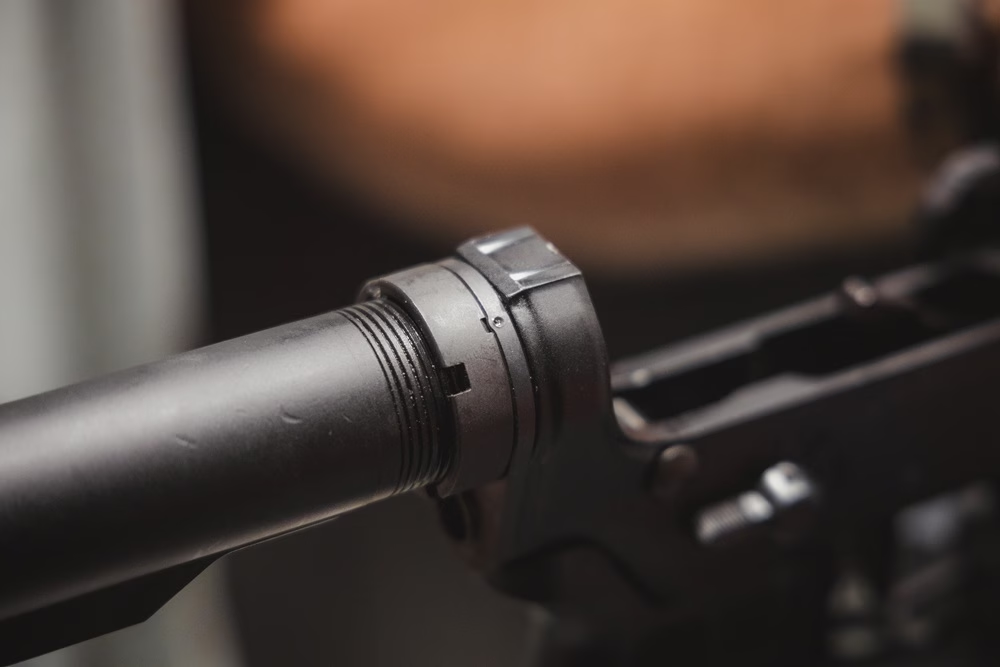
Afterwards, your castle nut will be sufficiently staked in place. Although you can continue staking more than two notches, it isn’t necessary. Staking more than two notches is only going to make it more difficult to remove your castle nut if you ever decide to replace your buffer tube. If needed, you’ll still be able to remove buffer tube, even if it’s staked; you’ll just need to apply more force to loosen the castle nut since it’ll be held in tighter thanks to it being staked in place.
Alternatives to Staking Your Castle Nut
If you don’t have the tools necessary to stake your castle nut or simply don’t want to risk potentially damaging your rifle in the process, you can opt for a specialized endplate and castle nut assembly like the Primary Weapon Systems Ratchet Lock Castle Nut and Endplate.
The endplate has a spring-loaded detent that acts as a ratcheting/locking mechanism for the included castle nut, allowing you to torque it down to spec and lock it in place without needing to stake it. Removing it will require some extra force still, but you’ll be able to reuse all the components when reassembling everything.
What Not to Do
Being a threaded part, you may be thinking to yourself that you could just use thread locker to keep your castle nut and buffer tube from loosening over time. Do not do this. Despite sounding like a promising idea on paper, it does more harm than good.
Thread lockers create resistance since they fill in the gaps of the threads, making it difficult to achieve a proper torque spec on your castle nut, increasing the risk of overtightening and damaging the threads. Thread lockers also make removal far more difficult, especially if you were to use a high-strength thread locker. High-strength thread lockers require heat to loosen, and the force needed for removal could irreparably damage the threads on the buffer tube and lower receiver, not to mention that the heat necessary for removal could weaken the integrity of the lower receiver. So, needless to say, don’t use a thread locker when installing your buffer tube or castle nut.
Conclusion
Despite sounding and appearing like a complicated task, staking your castle nut in place is a relatively simple process, and in practice, is one of the best ways to lock your castle nut in place. Doing so ensures that nothing loosens over time, and it will keep your buffer and buffer tube assembly nicely secured to your rifle. However, it isn’t necessarily a hard requirement for all rifle builds.
If your buffer tube is aligned properly and held in position by the buffer tube detent, as long as the castle nut is tightened and torqued down to 40 to 45 ft-lbs, it’s unlikely that it will loosen while firing your rifle. Still, while unlikely, it isn’t impossible, and if you plan to use your rifle in adverse conditions, the added security of having a staked castle nut will ensure that your rifle is ready for whatever conditions lie ahead.
