Keeping your barrel properly cleaned and maintained is one of the most important tasks for reliable function and accuracy of your rifle. It can be as simple or complicated as you want to make it, but one way or another, it’s got to get done if you want your AR-15 to continue performing at its best.
At its most basic level, barrel cleaning requires nothing more than a bottle of CLP, a handful of simple tools, and some elbow grease. If you want a pristine bore, though, you’ll have to start getting into the world of solvents and specialized brushes.
Whether you’re after a quick clean or an immaculate finish, we’ll walk you through every step, from prep to finish.
What You’ll Need
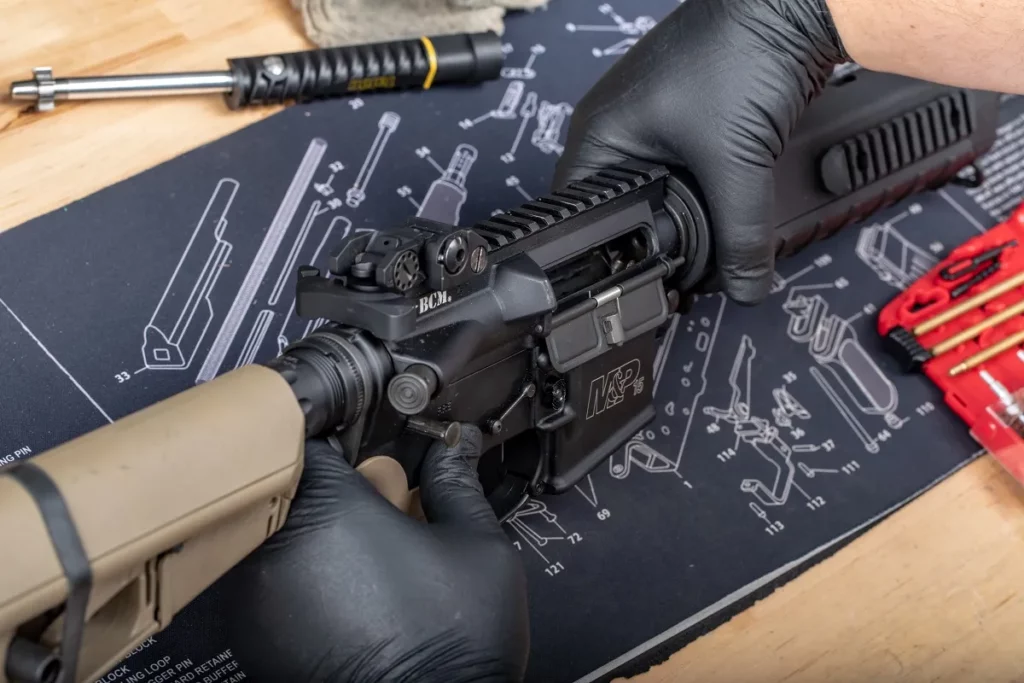
To get your barrel properly clean, you’re going to need at least a few basic supplies. For standard cleaning, the U.S. Military has been getting by with nothing but a cleaning kit and some CLP for decades. Still, if you’re a high-level competitor, a collector, or a perfectionist, you can get a deeper clean by adding a few extra products and steps to the process.
Essential Supplies
- Cleaning Rod: You’ll want this to be at least 6 inches longer than your barrel and coated in a material that won’t damage your rifling.
- Patches: It may to tempting to save a few dollars and use paper towels or shop rags to clean your gun instead. Don’t. Firearm patches are made from different materials and won’t leave behind fibers.
- CLP: This stands for Clean, Lubricate, and Protect. It’s a combination fluid that works as both an oil to lubricate and protect the firearm and a mild solvent to clean away fouling.
- Barrel Brush: This should be appropriately sized to the caliber of your firearm. Bronze brushes are generally the best for this application.
- Chamber Brush: Separate from the barrel brush, this tool is used specifically to clean the chamber of an AR-15.
- Patch Loop or Jag: Whether you prefer a loop or a jag is up to you, but you’ll need something to carry patches through the barrel.
Or, you can always buy an AR-15 cleaning kit, which will typically include most or all of the items above. If you want to strip away every trace of copper and carbon, though, you’re going to need some more specialized tools.
Optional Supplies
- Gun Rest or Vice: Largely a convenience, a gun rest or vice can be used to hold your firearm or upper receiver in place, freeing up both hands to work on it.
- Bore Guide: This protects your bore by keeping your rod perfectly aligned with the barrel, preventing damage to the rifling.
- Solvent: Depending on how in-depth you want to get with your cleaning, you can use either an all-purpose solvent like Hoppes #9 or specialized chemicals for removing copper, lead, and brass deposits individually.
- Nylon Brushes: When using a solvent, nylon brushes should be used, as the solvent will degrade bronze bristles.
- Ripcord/Boresnake : These all-in-one cleaning tools can be used in place of both brushes and patches.
The Cleaning Process
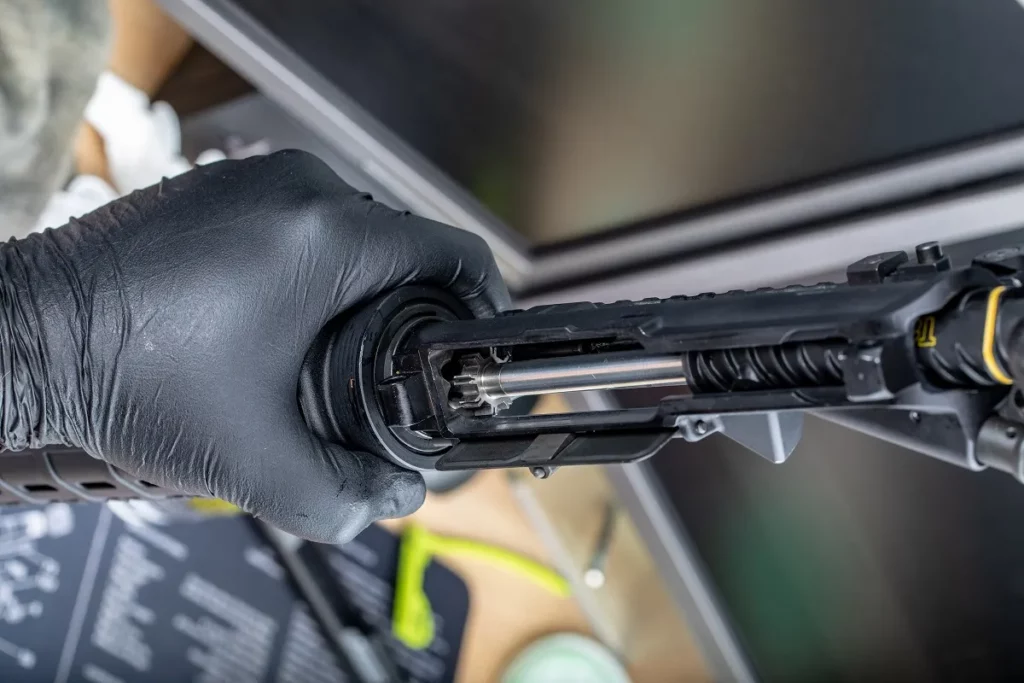
Before starting work on any firearm, you should always ensure it is clear of any ammunition. Remove the magazine, rack the bolt to the rear, and physically and visually inspect the chamber to ensure the firearm is empty.
After verifying that the rifle is clear, start by disassembling your AR-15 and removing the bolt carrier group and charging handle. If you have a vise or gun rest, position your upper receiver in it at an angle with the chamber pointed up and the muzzle pointed down. This will allow any cleaning fluids or fouling to run out of the muzzle rather than back into the firearm.
If you have a bore guide, install it now. For most AR-15s, bore guides simply insert from the rear similar to bolt carriers.
If you’re working without a vice, you’ll probably just have to hold the receiver with one hand and clean with the other, unless you can improve a way to hold or prop up your firearm.
Basic Barrel Cleaning
Wet a cleaning patch with CLP and run it slowly down the barrel, pushing the patch from the chamber toward the muzzle.
When cleaning any firearm, all patches and brushes should move from the chamber to the muzzle, following the path of the bullet. When the patch emerges from the muzzle, remove it before pulling your cleaning rod back through your barrel.
Run a fresh patch through your barrel to remove the loose fouling. Some users wet this patch with CLP as well, but others prefer to run it dry to avoid putting too much liquid in the barrel and having it drip out and make a mess. Either is fine at this stage.
Next, switch to your bronze barrel brush and lightly wet it with CLP as well, particularly if you opted for a dry patch during the last step. As with the patches, run it from chamber to muzzle. Don’t pull it back and forth or scrub, just push it straight through. When you reach the end, remove it from the cleaning rod before pulling the cleaning rod out.
Repeat this process a few times to loosen any hardened fouling in the bore, then run a wet patch through to collect it, then a dry one to remove any lingering CLP.
Take a look down your barrel from the chamber side. If any fouling is still visible, you can continue cleaning by running a bronze brush through, followed by a patch, until the patch comes out clean. It will take time to get it immaculate, though.
Alternatively, you can use a tool like a Boresnake or Ripcord barrel cleaner to shortcut the process. These all-in-one tools integrate both the scrubbing function of a brush and the cleaning function of a patch, saving you time. However, they need to be cleaned and replaced at regular intervals, and in some cases don’t remove as much fouling as more traditional cleaning methods.
Advanced Barrel Cleaning
If your time is valuable to you and you don’t enjoy spending it scrubbing your barrel, you can shortcut the process considerably using solvents. For most users, a general-purpose firearm bore cleaner like Hoppes #9 is sufficient.
After removing the looser fouling with CLP using the steps above and drying the bore with clean patches, wet a nylon brush with bore cleaner and push it through the barrel a few times.
Depending on your solvent, you may want to take a break at this point to allow the solvent to break down and loosen the carbon. Other solvents will recommend immediately proceeding to the next step in cleaning, though, so be sure to consult the instructions if you’re unsure.
Next, push fresh patches through the bore until they come out clean and dry. If after a few patches, you find that they are coming out dry, but not clean, you may want to apply more solvent and repeat the process until the barrel is free of fouling.
If you will be firing the AR-15 again soon, then you are now done cleaning the barrel. But, if you plan to store the firearm for six months or more before its next firing, it’s recommended to apply a final coat of oil or CLP to the barrel beforehand. This will help to protect the barrel from rust but you will need to remember to wipe it out before your next range trip.
Chamber Cleaning
A contaminated barrel can degrade accuracy somewhat, but a loss of reliability usually comes down to excessive fouling in the chamber. For that reason, cleaning your chamber properly should be considered equally as important as the barrel.
The steps are very similar and use many of the same tools. Start by applying CLP liberally to your chamber brush, then insert the brush into the chamber fully, so that all the bristles are past the lugs. Twist the brush a few times to loosen any fouling or carbon buildup, then remove it.
Use a few cleaning patches to wipe away the loosened fouling, being careful to cover the entire surface of the chamber. It’s easy to miss the area behind the lugs, but it’s crucial to keep it free of fouling.
Now you’ll want to repeat the process on the area between the lugs, first scrubbing with a CLP-soaked brush, then wiping with clean patches. If you have separate cleaning brushes, you may find it easier to use those, but if not, you can use the narrow part of the chamber brush. Be warned, this will accelerate wear on the brush, though.
For hard-caked carbon or an extra level of cleanliness, you can repeat these steps using a solvent. When you’re through, it’s usually a good idea to run one last patch through the chamber and barrel to pick up any wandering bits of fouling.
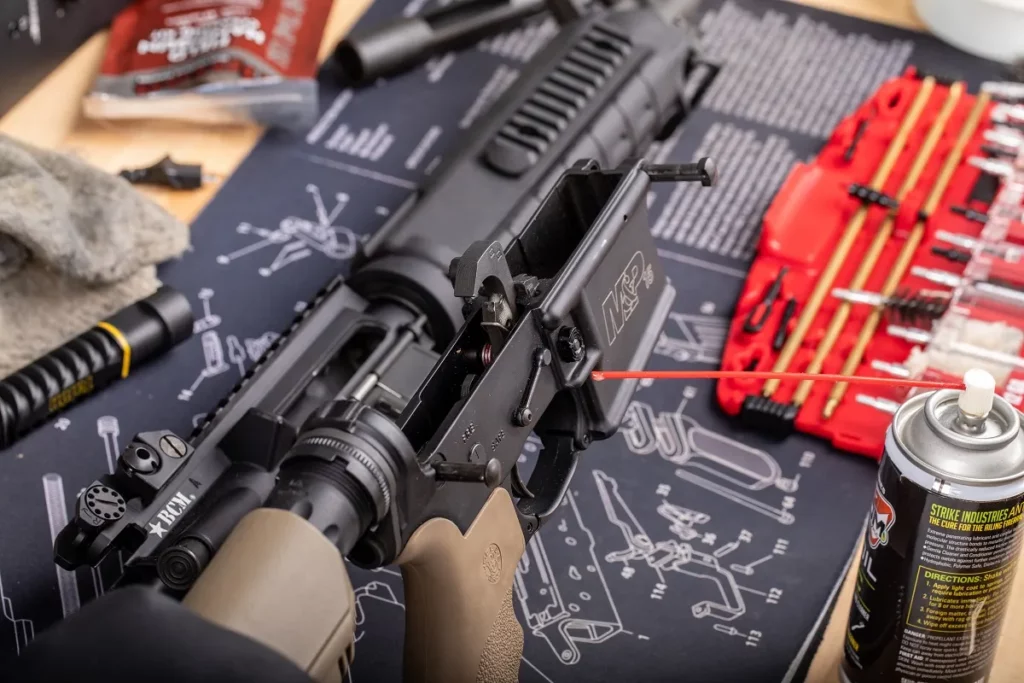
Tips and Tricks
If you want to make the cleaning process a bit easier on yourself, there are a few tricks you can use going forward.
Next time you go to the range, bring a small cleaning kit with you. It doesn’t need to be anything fancy – just a cleaning rod or cable, a few patches, and some CLP. Immediately after you finish your session (after your firearm has cooled) run a patch soaked in CLP through the barrel. Letting the CLP sit with the fresh carbon buildup during the ride home will help soften it and make it easier to remove later.
Alternatively, some marksmen like to use a pull-through bore cleaner like an AR-15 Boresnake or Ripcord for quick in-the-field cleaning, which can eliminate the worst of the fouling. Without CLP and solvents though, these tools can’t entirely replace a thorough barrel cleaning.
For most AR-15s, barrel cleaning should take place every 500 rounds or so. For precision rifles, though, you may need to clean more frequently to maintain peak accuracy.
Conclusion
Properly maintaining your equipment is a big part of firearms ownership, even for a low-maintenance rifle like an AR-15. Ensuring your barrel and chamber are free of carbon buildup will keep your rifle shooting every bit as well as the day you bought it.
For a thorough breakdown of how to clean every part of your rifle, check out our complete guide here.


